Showing posts with label Food & Recipes. Show all posts

Monday, July 30, 2018

Instant Pot

Hello!


Hard to believe this is our last week of summer...next Monday we head back to school!

So I had mentioned last week that we finally got an Instant Pot, and though I was a bit intimidated when I first got it, we have used it a few times and so far we are LOVING it!


We got the 8qt Instant Pot, the exact one we got can be found here.  I got ours from Kohls, and between Kohls cash, 10$ off home purchase, and an extra 30% off using our Kohls charge we definitely got a GOOD deal on it!  

I am a huge crock pot lover...it is my best friend, and I wondered if I really "needed" this Instant Pot too....but after just using it a few times I can 100% justify the purchase.  I am sure I will still use my crock pot, but I am thinking it'll be much less now that I have this!  And the crock pot is great, but if you don't have your s*%t together and don't get it going in the morning...well you won't have dinner come 6:00!

I love the whole concept of one pot...I mean lets face it, I don't know anyone who loves doing dishes after cooking dinner, so I really appreciate I can make the entire meal in just one pot...just one pot to clean....YES PLEASE!

I love how quick I can get dinner on the table, some days I have lots of time to spend in the kitchen and cook all day, and some days its a freaking miracle my family even gets fed...so this is a huge help on those days.  So many days 4 o'clock rolls around and I realize I didn't get anything prepared for dinner, and so many times I would say screw it and we would just get takeout.  We are really trying to cut back on what we spend on eating out, so I am thankful that I can still whip up a meal at the last minute.  

I was definitely skeptical of it cooking so fast and still being delicious...the first thing we made in it was pulled pork.  This is definitely one of my family's favorite things to eat...my boys DEVOUR it.  Normally I would make it in the crock pot...the recipe I used the meat had to cook 14 hours, so I would throw it in the crock pot before I went to bed, and then by afternoon I was able to shred it, add the sauce and let it simmer another 2 hours.  Now...it was delicious, but definitely a lengthy process.  So we decided to try it in the Instant Pot...I found a recipe and my boys were definitely not too sure, but we tried it and about an hour later we all agreed it was the best pulled pork we ever ate!!!!!!  The recipe was super simple and it really was delicious!

A few days later we tried spaghetti and meat sauce...I was definitely not sure about this one, but I figured I would give it a try....I wouldn't say it saved any time, but again I loved that I could cook the meat, and do it all in one pot.  It was actually pretty darn good, though some of the pasta did clump a little, so I know how to tweak it for next time.

It was yummy, and I only had that one pot to clean, so it was definitely a win in my book!


We also make Korean beef and served it over rice and it was DELICIOUS!  

I am definitely going to share the recipes later this week, because those 3 dishes really were good and we all loved it!  Not one complaint during dinner...any mom will consider that a huge win!

Now......where I am struggling is with the chicken in the Instant Pot.  I tried two different recipes and both were NOT good....so if y'all have any tips for chicken in the Instant Pot or a good, no fail chicken recipe PLEASE share it with me!

I am definitely going to compile some of my favorite recipes and start to share them over the next few weeks, and please if you guys have a MUST MAKE Instant Pot recipe please leave a comment and share it with me!

Thanks for stopping by today!  

xoxo,
kimmo


Tuesday, February 21, 2017

Tasty Tuesday....Friendship Bread

Hello Ladies!

Hope your week is off to a great start!  

Today I am sharing with you a fun recipe!  Friendship bread....have you heard of it?  Have you done it before?  Years ago, like 15, my grandmother gave me a ziplock bag with some ingredients in it, and I had to mush the bag every day, and then after about a week, and a few more ingredients, it made a yummy bread.  I haven't made it since then.  Well, a few weeks ago, my girlfriend Heather was making it, and she told me what I needed to make the "starter bag", and well, ever since then, every 10 days I have been making some bread!  My kids, LOVE it!  It isn't too difficult, and I love that you can give it out to 3 friends, and keep it going!

BREAD BATTER START MIX:

1 cup milk
1 cup flour
1 cup sugar

Put it in a gallon sized ziplock bag and mush it all together.

Do NOT use a metal spoon or bowl for mixing.  Do not refrigerate.  If air gets into the bag, let it out.  It is normal for the batter to rise, bubble and ferment.


DAY ONE:  this is the day you receive the bread start.  You do nothing.

DAY TWO:  Mush the bag

DAY THREE:  Mush the bag

DAY FOUR:  Mush the bag

DAY FIVE:  Mush the bag

DAY SIX:  Mix 1 cup flour, I cup milk, and 1 cup sugar in bowl.  Add to the bag.

DAY SEVEN:  Mush the bag

DAY EIGHT:  Mush the bag.

DAY NINE:  Mush the bag.

This bag just sits on the counter, and I just mush it all around each day.


DAY TEN:  Combine in large bowl the batter, 1 cup milk, 1 cup flour and 1 cup sugar.  Stir and put 1 cup starter in four gallon sized bags.  Keep one for yourself and give this recipe and a starter bag to three friends.

To the remaining batter in the bowl; combine the following ingredients:

1 cup oil
1 cup sugar
1 tsp cinnamon
3 eggs
1 1/2 tsp baking powder
1/2 cup milk
1/2 tsp baking soda
5.1 oz of instant pudding, any flavor (NOT sugar free)
2 cups flour
1 tsp vanilla
1/2 tsp salt

Mix 1 tsp cinnamon and 1/2 cup sugar.  Spray two smaller bread pans with cooking spray.  Sprinkle the pans with the sugar and cinnamon mixture.  Pour batter into pans.  Bake at 325 for 45-60 minutes.  Let stand for 10 minutes before removing from pan.

I went to take a picture of the two loaves, and one was already gone, and the other was about half gone...my kids cannot get enough!!!

ENJOY

xoxo,
Kimm


Thursday, February 2, 2017

Creamy White Chili

Hello Ladies!

I had a little touch of the flu this week...and seriously it should just be against the law for moms to get sick!  I am starting to feel somewhat better, and hoping by the weekend I am back to feeling 100%!

Today I am sharing with you guys a recipe that I just tried a few weeks ago for the first time, and everyone here LOVED it!  We love chili, and Mark makes the best chili I have ever had!  I had never tried a white chili before, and I stumbled across a recipe for it, and decided to give it a try!  It's a keeper!

It would be great to make a big pot of this for the Super Bowl!

CREAMY WHITE CHICKEN CHILI

INGREDIENTS:

1 LB. chicken breasts, cut into chunks

1 onion, chopped

1 1/2 tsp. garlic powder

1 tbs. canola oil

1 can great Northern beans, rinsed and drained

1 can (15oz) chicken broth

2 cans chopped green chiles

1 tsp. salt

1 tsp. cumin

1 tsp. oregano

1 c. sour cream

1/2 c. heavy cream

cheddar cheese

tortilla strips


DIRECTIONS:

In a pot, saute chicken, onion and garlic powder in oil until the chicken is no longer pink


Add beans, broth, chiles and seasonings and bring to a boil.


Reduce heat and simmer uncovered for about 30 minutes.


Remove from heat and stir in sour cream and heavy cream.


Service with tortilla strips and cheese and ENJOY!


I doubled this recipe, because my family devoured it, and making a double batch works best for us.

**recipe from tasteofhome.com

xoxo,
Kimm


Tuesday, January 31, 2017

Tasty Tuesday....The Best Cream Puffs

Hello Ladies!

Today I am linking up with The Blended Blog for Tasty Tuesday!


This week I am sharing some of our favorite game day foods, and today I am talking about one of our favorite desserts!  Personally, I think dessert is the best part of any meal.  I love being in charge of desserts, and I am always first in line to volunteer to bring a sweet treat!  

Today I am sharing with you guys the BEST cream puff recipe ever!  I have been making this exact recipe for over 15 years now, it's a winner and everyone LOVES it!


INGREDIENTS:
1 cup water

1/2 cup butter or stick margarine

1 cup all-purpose flour

4 large eggs

Cream Filling (see below)

Powdered sugar (optional)

Hot fudge Sauce

CREAM FILLING:
1 large box instant vanilla pudding
heavy cream
milk


DIRECTIONS:
1.  Heat oven to 400.

2.  Heat water and butter to rolling boil in 2 1/2 quart saucepan.  Stir in flour; reduce heat to low.  Stir vigorously over low heat about 1 minute or until mixture forms a ball; remove from heat.


3.  Beat in eggs, all at once, with spoon; continue beating until smooth.  Drop dough by scan 1/4 cupfuls about 3 inches apart onto an ungreased cookie sheet.


4.  Bake 35-40 minutes or until puffed and golden.  Cool away from draft, about 30 minutes.  Cut off top third of each puff; pull out any strands of soft dough.


5.  Make your pudding according to directions on box, however cut the milk in half and replace it with the heavy cream


6.  Fill puffs with the Cream filling and replace tops. 


The recipe stops there, however I take some hot fudge sauce and heat it up, then pour it into a ziplock baggie, cut it at the tip, and drizzle some chocolate over the top..SO GOOD!


Cover and refrigerate until ready to serve!

These are so delicious.  When I make them, I always double the recipe.

**recipe from Betty Crocker Cookbook

xoxo,
Kimm


Monday, January 30, 2017

Favorite Football Foods...Mac & Cheese

Hello Ladies!

Hope you all had a GREAT weekend and are ready for a GREAT week!


Over here, we are super excited for the Super Bowl this weekend.  We are a HUGE football family, and even though none of our teams are in the big game this year, we are still excited for the big game.  Football season is pretty much my favorite, and I love that it is something we all love watching together as a family.  On Sundays during football season I don't make a real dinner, we usually just kind of snack all day while watching the games, and football food, as we like to call it, is definitely our favorite!  

So with the big game coming up this weekend, I thought each day this week I would share with you some of our favorite things to eat as we watch the games!

Some people love going out to a big super bowl party, or hosting one, but for us, we really like keeping it low key, just staying home watching it with the boys.  A few years back we went to a super bowl party, and though it was fun, it wasn't my cup of tea:). A strong love of football is something I share with my boys, and I just love being home watching it with them. 

I find that for the most part, each year we tend to eat the same things...my kids really look forward to "this meal" and there are certain things they just expect each year on Super Bowl Sunday!

Homemade Mac & Cheese is a staple on the table for Super Bowl Sunday.  I have been making this same recipe since I was 21 years old, and it is hands down my FAVORITE!  I always double the recipe, because my kids love it, and we love having it for leftovers during the week!  


The last time I made this was when Kenny was in town visiting, it's his favorite and he always asks me to make it when he comes to visit...#awesomeexwife :). I totally forgot to take pics, but trust me it is delicious, and not too difficult to make!

MACARONI & CHEESE

INGREDIENTS
2 cups uncooked elbow macaroni
1/4 cup butter or stick margarine

1/4 cup all purpose flour

1/2 tsp salt

1/4 tsp pepper

1/4 tsp ground mustard

1/4 tsp Worcestershire sauce

2 cups milk

2 cups shredded start cheddar cheese

Handful of breadcrumbs (optional)


DIRECTIONS

1.  Heat oven to 350.

2.  Cook macaroni as directed on package.

3.  While macaroni is cooking, melt butter in 3-quart saucepan over low heat.  Stir in flour, salt, pepper, mustard and Worcestershire sauce.  Cook over low heat, stirring constantly, until mixture is smooth and bubbly; remove from heat.  Stir in milk.  Heat to boiling, stirring constantly.  Boil and stir 1 minute; remove from heat.  Stir in cheese until melted.

4.  Drain macaroni.  Gently stir macaroni into cheese sauce.  Pour into uncreased 2-quart casserole.  Bake uncovered 20-25 minutes or until bubbly.

(Ligther Macaroni & Cheese: For 10 grams of fat and 375 calories per serving, decrease butter to 2 tablespoons.  Use fat-free (skim) milk and substitute 1 1/2 cups reduced fat Cheddar cheese for the 2 cups regular sharp Cheddar cheese)


Once I pour it into the dish, I always sprinkle some breadcrumbs over the top...that is our favorite part!!

I always double this recipe, so mine does need to cook a bit longer.  I have never tried it with any other type of cheese other than the cheddar, but in my cookbook, it does say it is also great with Vermont white cheddar, or half cheddar and half Monterey Jack.  

And another tip....when the recipe says to stir constantly...do it...I have tried walking away for a minute or not stirring constantly and it either burns or just gets all stuck to the bottom of the saucepan.

Let me know if you guys decide to make this and let me know what you think!  I know we will be enjoy it this Sunday!

*recipe is from Betty Crocker's Cookbook

xoxo,
Kimm


Wednesday, January 25, 2017

Chocolate Chip Cookies & A Giveaway

Hello Ladies!

Hope you are all having a great week!  I can't believe this month is almost over..time is already flying by in 2017!

#truth

Today I am sharing our FAVORITE chocolate chip cookie recipe with you guys!  Ive gotten lots of questions as to what recipe we use, and how I get my cookies to look so good...so today I am sharing the recipe and how I make them!

So funny and so true!

Believe it or not, I use the recipe that is on the back of the Nestle Tollhouse Semi-Sweet chip bag....it is THE BEST!  I have tried LOTS of different chocolate chip recipe and this one is still our favorite!  I probably make 2-3 batches a week, and they don't ever last more than a day!  

INGREDIENTS:
2 1/4 cups all-purpose flour

1 teaspoon baking soda

1 teaspoon salt

1 CRISCO baking stick, butter flavored
 (the recipe calls for 1 cup butter, but I never ever use butter)

3/4 cup granulated sugar

3/4 cup packed brown sugar

1 teaspoon vanilla extract

2 large eggs

2 cups ( I use the whole bag ...duh) Nestle Tollhouse Semi-Sweet morsels

DIRECTIONS:
1.  Preheat oven to 375

2.  Combine flour, baking soda, and salt in a small bowl.

3.  Beat Crisco stick, granulated sugar, brown sugar and vanilla until creamy.

4.  Add eggs, one at a time, beating well after each addition.

5.  Gradually add in flour mixture, until well blended.


6.  Stir in your chips

7.  Drop onto an ungreased cookie sheet and bake for 9-11 minutes (I bake mine for 9 minutes 40 seconds, every time, every single batch)


Once I take them out of the oven, I let them cool for one minute on the cookie sheet, then I transfer them to a wire rack to cool completely.  


When I bake cookies, I always use two cookie sheets, it seriously makes the process go so much faster to just have a tray ready to go into the oven as soon as you pull a batch out!

And as you can see I don't have any kind of fancy cookie sheet, just inexpensive cookie sheets I picked up at Target.  I have tried using a more expensive cookie sheet, and did not notice any difference, and found that they didn't  hold up any longer than my $6 cookie sheets!  


I think why my cookies always come out looking perfect is because of this cookie scoop , each scoop is always the same size, so they all cook evenly and the same.  I used to just drop them by spoonful onto a cookie sheet, but noticed a HUGE difference once I started using a cookie scoop!  

I swear by that recipe on the back of the bag, the only thing I do different is I use the Crisco baking stick instead of the butter, and I swear it makes all the difference.  

Perfect, delicious cookies EVERY SINGLE TIME!


And because I enjoy nothing more than a warm chocolate chip cookie and a cup of coffee, I am going to give away a $25 Starbucks gift card. 


 Just leave a comment below and check back Friday and I will announce the winner in my Friday Favorites Post!

Thanks so much for stopping by today, and let me know if try out this recipe!

xoxo,
Kimm


Tuesday, January 17, 2017

Tater Tot Chicken Pot Pie

Hello Ladies!

It's Tuesday, so today I am sharing with you guys a recipe I tried for the first time last week and LOVED!  AJ said it was his new favorite meal....mom win!


I was sitting out back drinking coffee during the holidays, watching the Today Show, and they had a guest on making Tater Tot Chicken Pot Pie...it looked pretty easy to make and it looked yummy, so I decided to give it a try...and boy I am glad I did!  It's a KEEPER!

TATER TOT CHICKEN POT PIE

INGREDIENTS:


3 tablespoons unsalted butter (I used salted)

1 large onion, finely chopped

3 carrots, chopped into 1/2 inch pieces (I used baby carrots and chopped them up)

Kosher salt

6 tablespoons all purpose flour

3 cups whole milk

Enough chicken soup mix or bouillon cubes for 3 cups broth (do not dilute the mix though)..I used about 1 1/2 bouillon cubes

3/4 cup frozen peas

1 1/2 pounds boneless, skinless chicken breast or thighs, chopped into 1/2-3/4" pieces
1/2 teaspoon dried thyme

Black pepper

1-2 pounds frozen tater tots for topping

Ketchup, for serving, optional.


DIRECTIONS:

1.  Preheat oven to 400.  In a large skillet (I used my Dutch oven and did it all in one pot) over medium-high heat, melt the butter and add the onion and carrots and a pinch of salt and cook, stirring until soft, about 10 minutes.


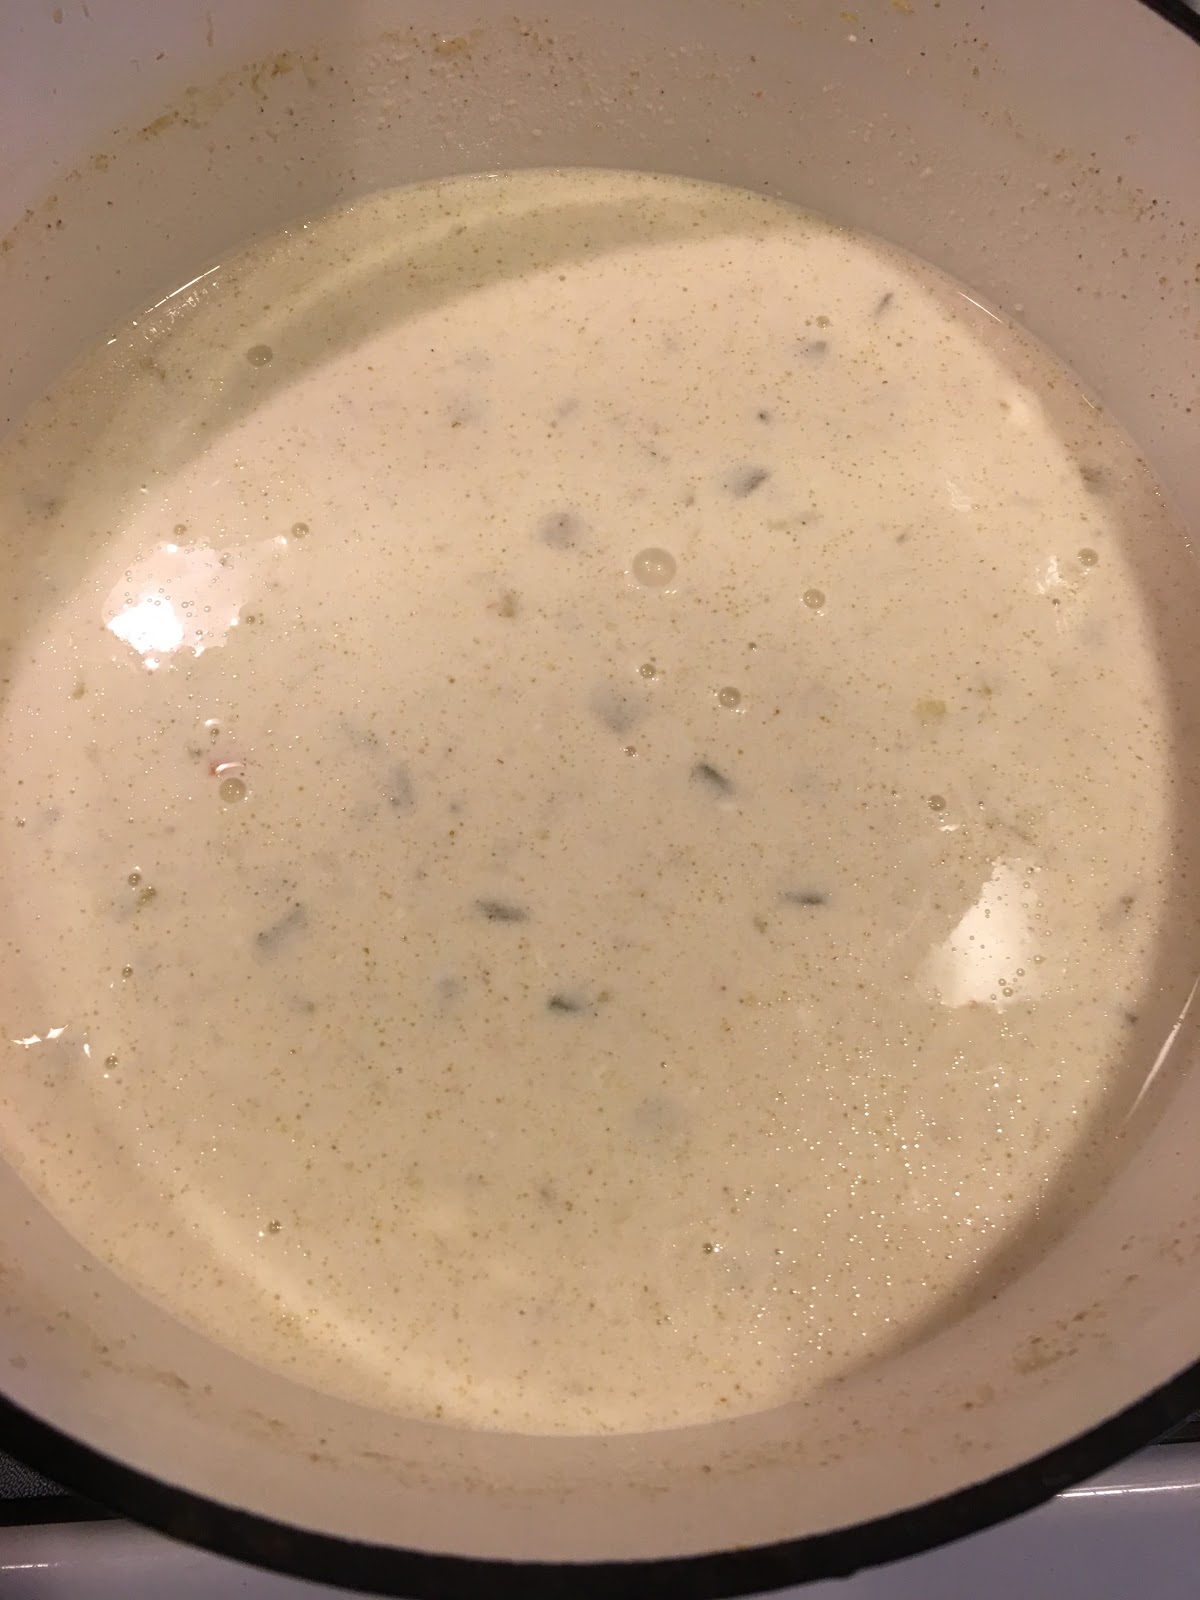
2. Stir in the flour so that it gets evenly distributed.  Add half the milk, stirring continuously until thickened, and then repeat with the other half of the milk.  Stir in the chicken soup mix, peas, chicken, thyme, and a few turns of pepper and simmer, stirring often, for 10-15 minutes, until the chicken is cooked through and no longer pink.  


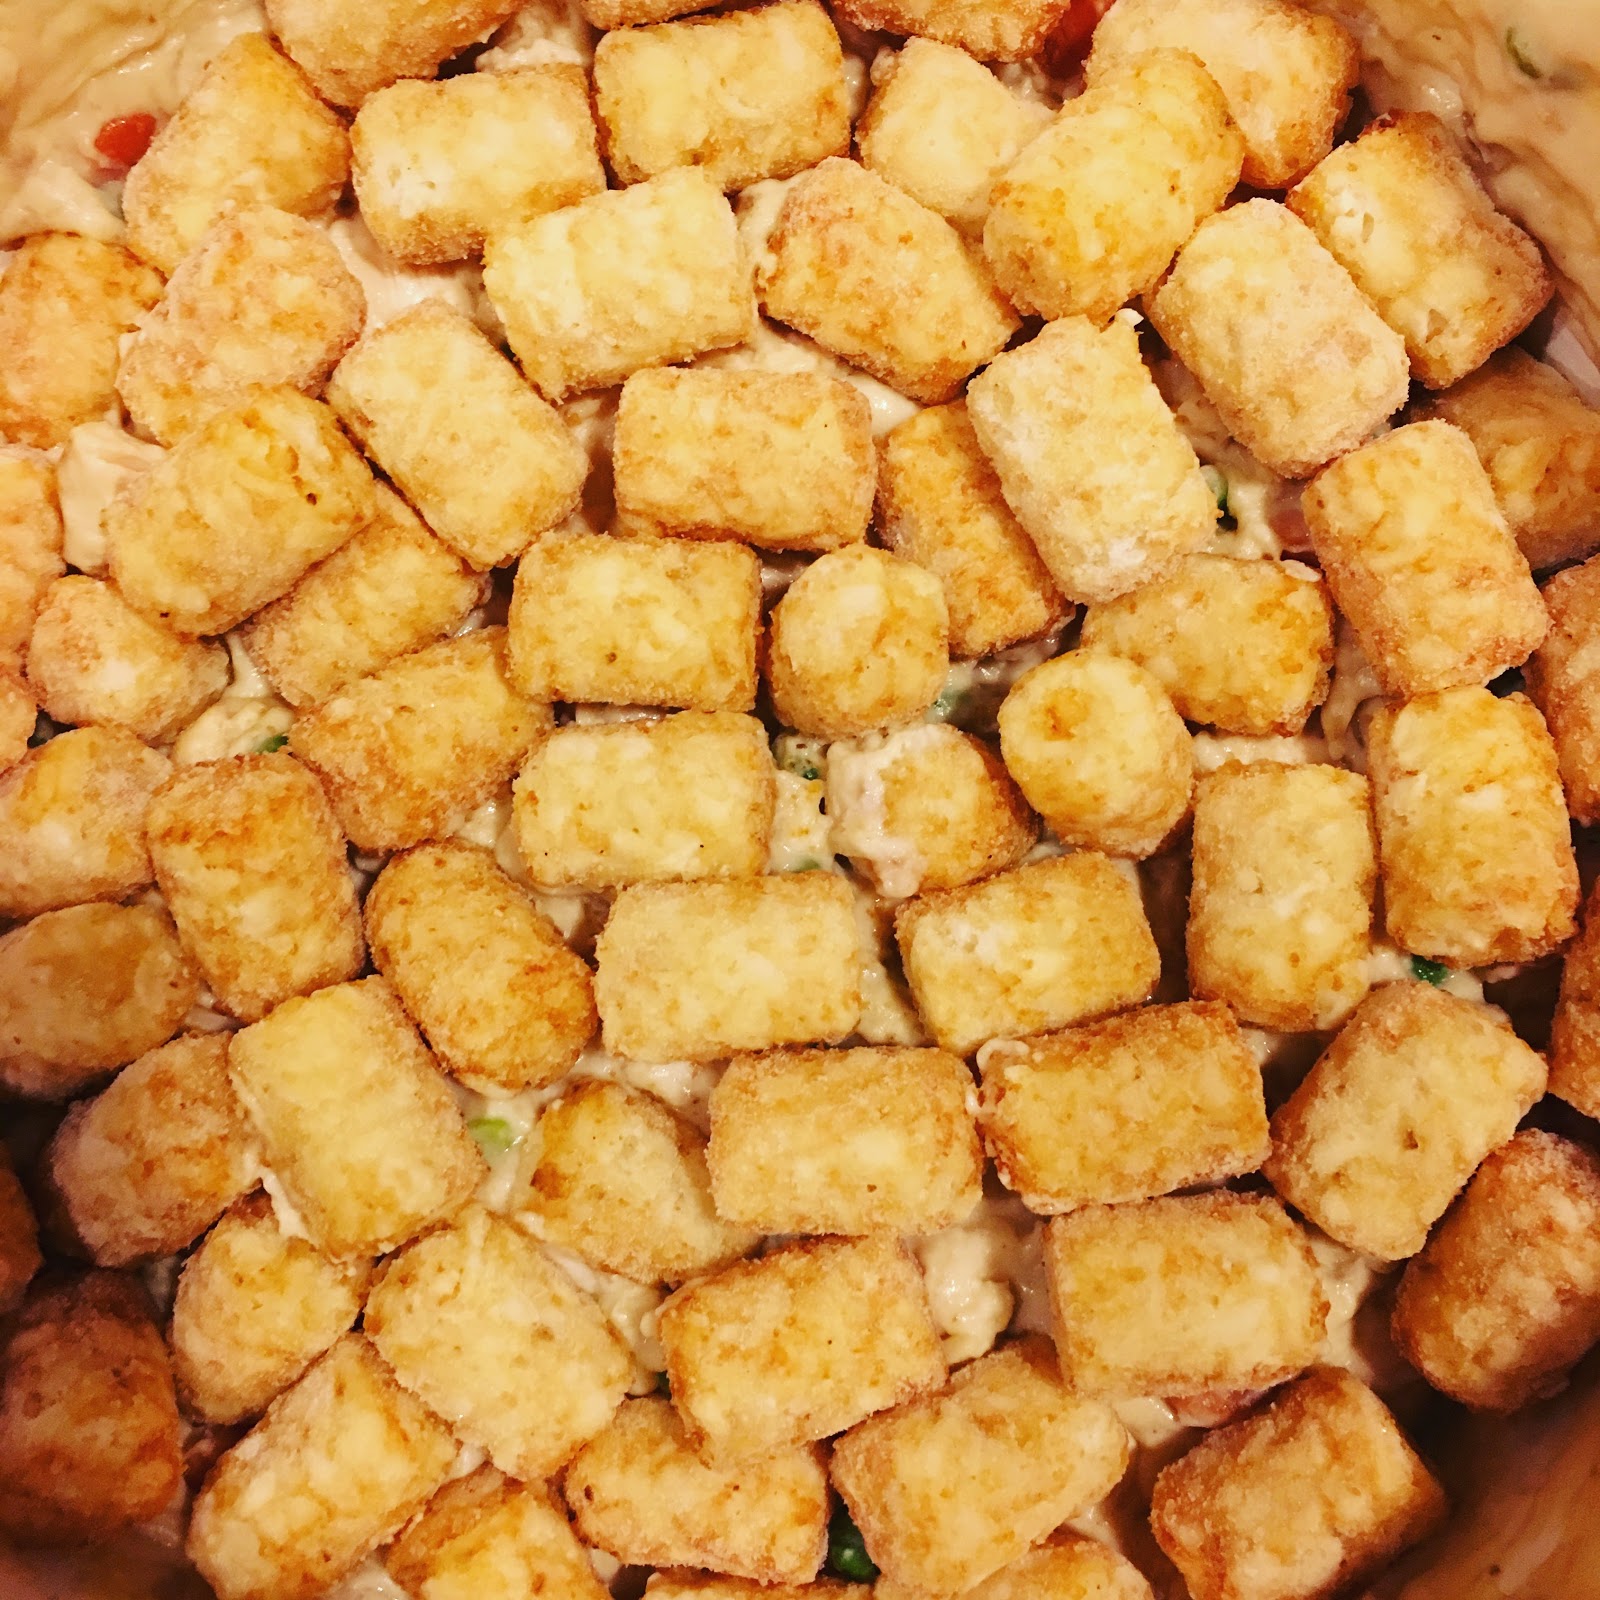
3.  Transfer the mixture to a 8x11 baking dish (I skipped this step and kept it all in my dutch oven) and then cover with the tater tots.  Bake until the tots are golden brown, begin checking for doneness at 30 minutes.  Let cool slightly and serve with ketchup if desired.  (I found I needed to cook mine for closer to 45-50 minutes)


AJ had 3 helpings, and said it was his new favorite meal!  I love meals that I can make that are one pot type meals.  Let me know if you guys decide to try this!

xoxo,
Kimm